Please note: The process for adding Staff details is virtually identical to that for Councillors.
For Staff you start out by selecting Staff from the left hand Admin menu, and then click “Add new”. From that point onwards it is the same process as below, but without the need to upload a Register of Interests.
Adding a New Councillor
Should a new councillor be appointed you will need to add their details in to the site.
The first step is to login to the Admin section of your Council website. If you are unsure how to do this, please see the Signing in to your website lesson.
Once in the Admin section, click on Councillors from the left hand menu.
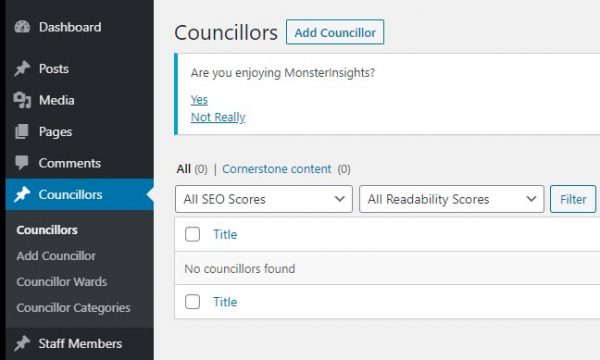
Click the Add Councillor button, you will be taken to a new councillor screen.
Add the Councillor Name
The cursor will default to “Add Title“, so you can simply type the Councillor’s name.
Add the Contact Information card
You should then click the Gutenberg add block + symbol, and then add a Contact Information card.
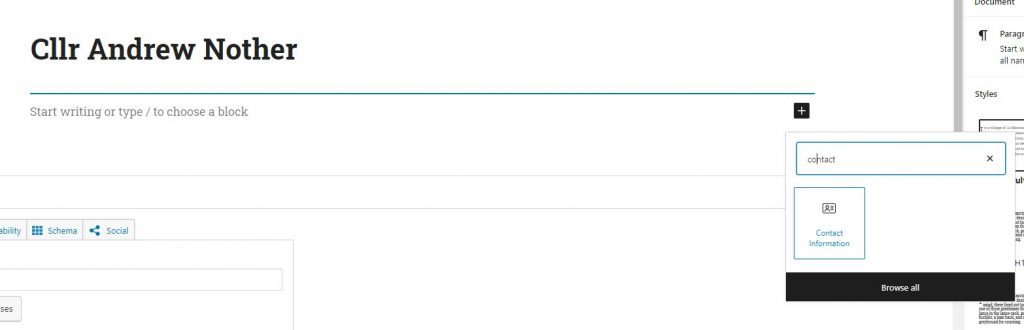
The card is now added in to the page for you.
Click on the block edit symbol (the pencil) to open it up in the page so you can add the Councillor details.
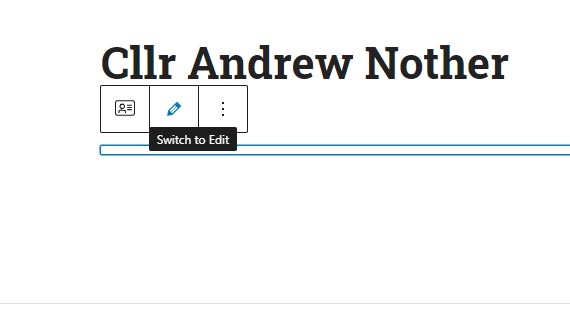
The contact card will now open up for you to add the Councillor details.
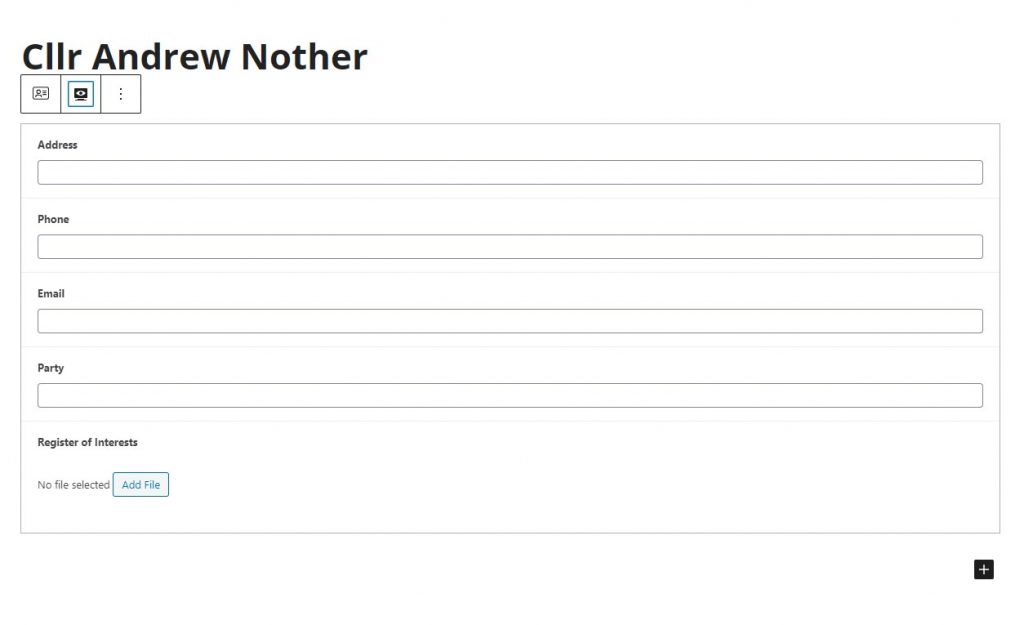
Add Councillor Information
You can now proceed to add the councillor information. Simply enter the details in the boxes provided.
The boxes aren’t compulsory, so if you don’t have a Party to assign, or a Phone number, simply leave blank.
Add the Register of Interests
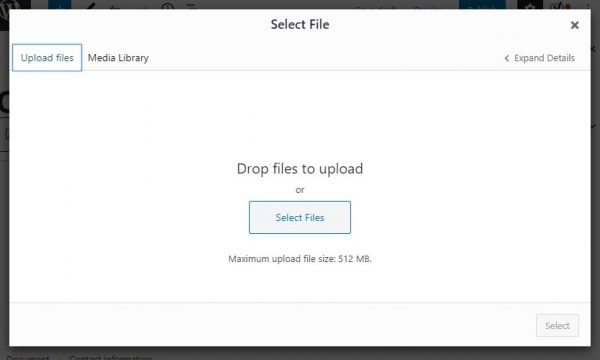
To upload the Councillor’s Register of Interests simply click on the “Add File” button. This will open the Media Library pop up. You can either select the Register of Interests from the uploaded documents, or you can choose to upload a new document. If adding a new document you can simply drag and drop it into the upload window.
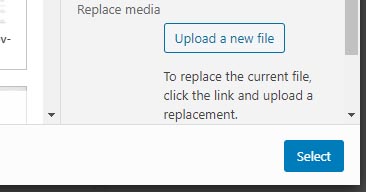
Once the file has uploaded it will be shown in the Media Library window with a tick next to it. To add to the Councillor click on the blue SELECT button to the bottom right of the window.
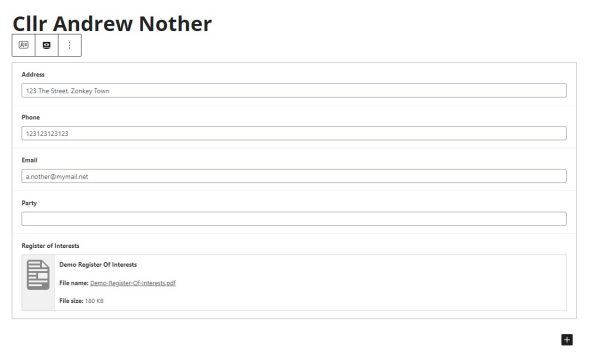
The document will now be added and this will be shown in the main page.
Add Councillor Ward and Categories as needed.
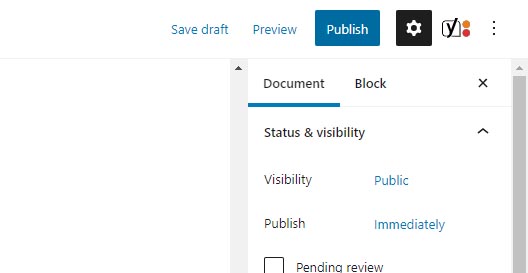
To add the Councillor to any Ward or Categories, first make sure to click the Document tab in the top right of the screen.
Having selected the Document tab, scroll down and click on the Councillor Wards tab and tick the Ward applicable.
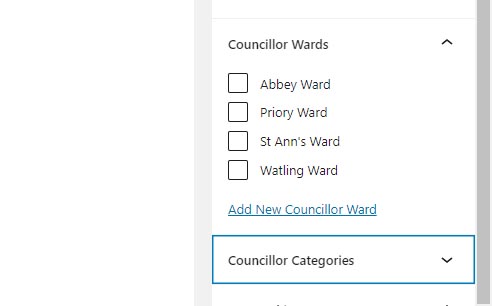
In the same way as selecting the Ward, you can click on Councillor Categories and tick into any applicable category if these are being used.
Add Councillor Image
To add the Councillor’s image file, click on the Set Featured Image box.
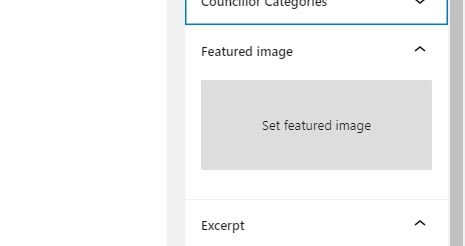
The Media Library box will open for you to select or upload a new image, follow the same process as before when adding the Register of Interests file. Either click the image in the Media Library, or go to Upload Files to add a new image. Once complete click the blue “Set Featured Image” button to the bottom right.
Your image is now added.

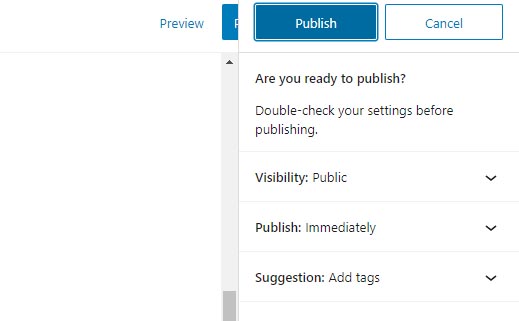
All of your Councillor information is now entered, so to finish click on the blue “Publish” button to the top right of the page.
Then click the second blue Publish button to confirm.